Cart 0
Whether you’re crafting pixel-perfect icons, designing stunning logos, or creating intricate illustrations, mastering the grid feature in Adobe Illustrator unlocks a world of precise and professional designs. In this beginner-friendly guide, we’ll walk you through four simple steps to harness the power of the grid, accompanied by clear visuals and a downloadable template for your convenience. Plus, we’ve included a helpful video demonstration to reinforce each step!
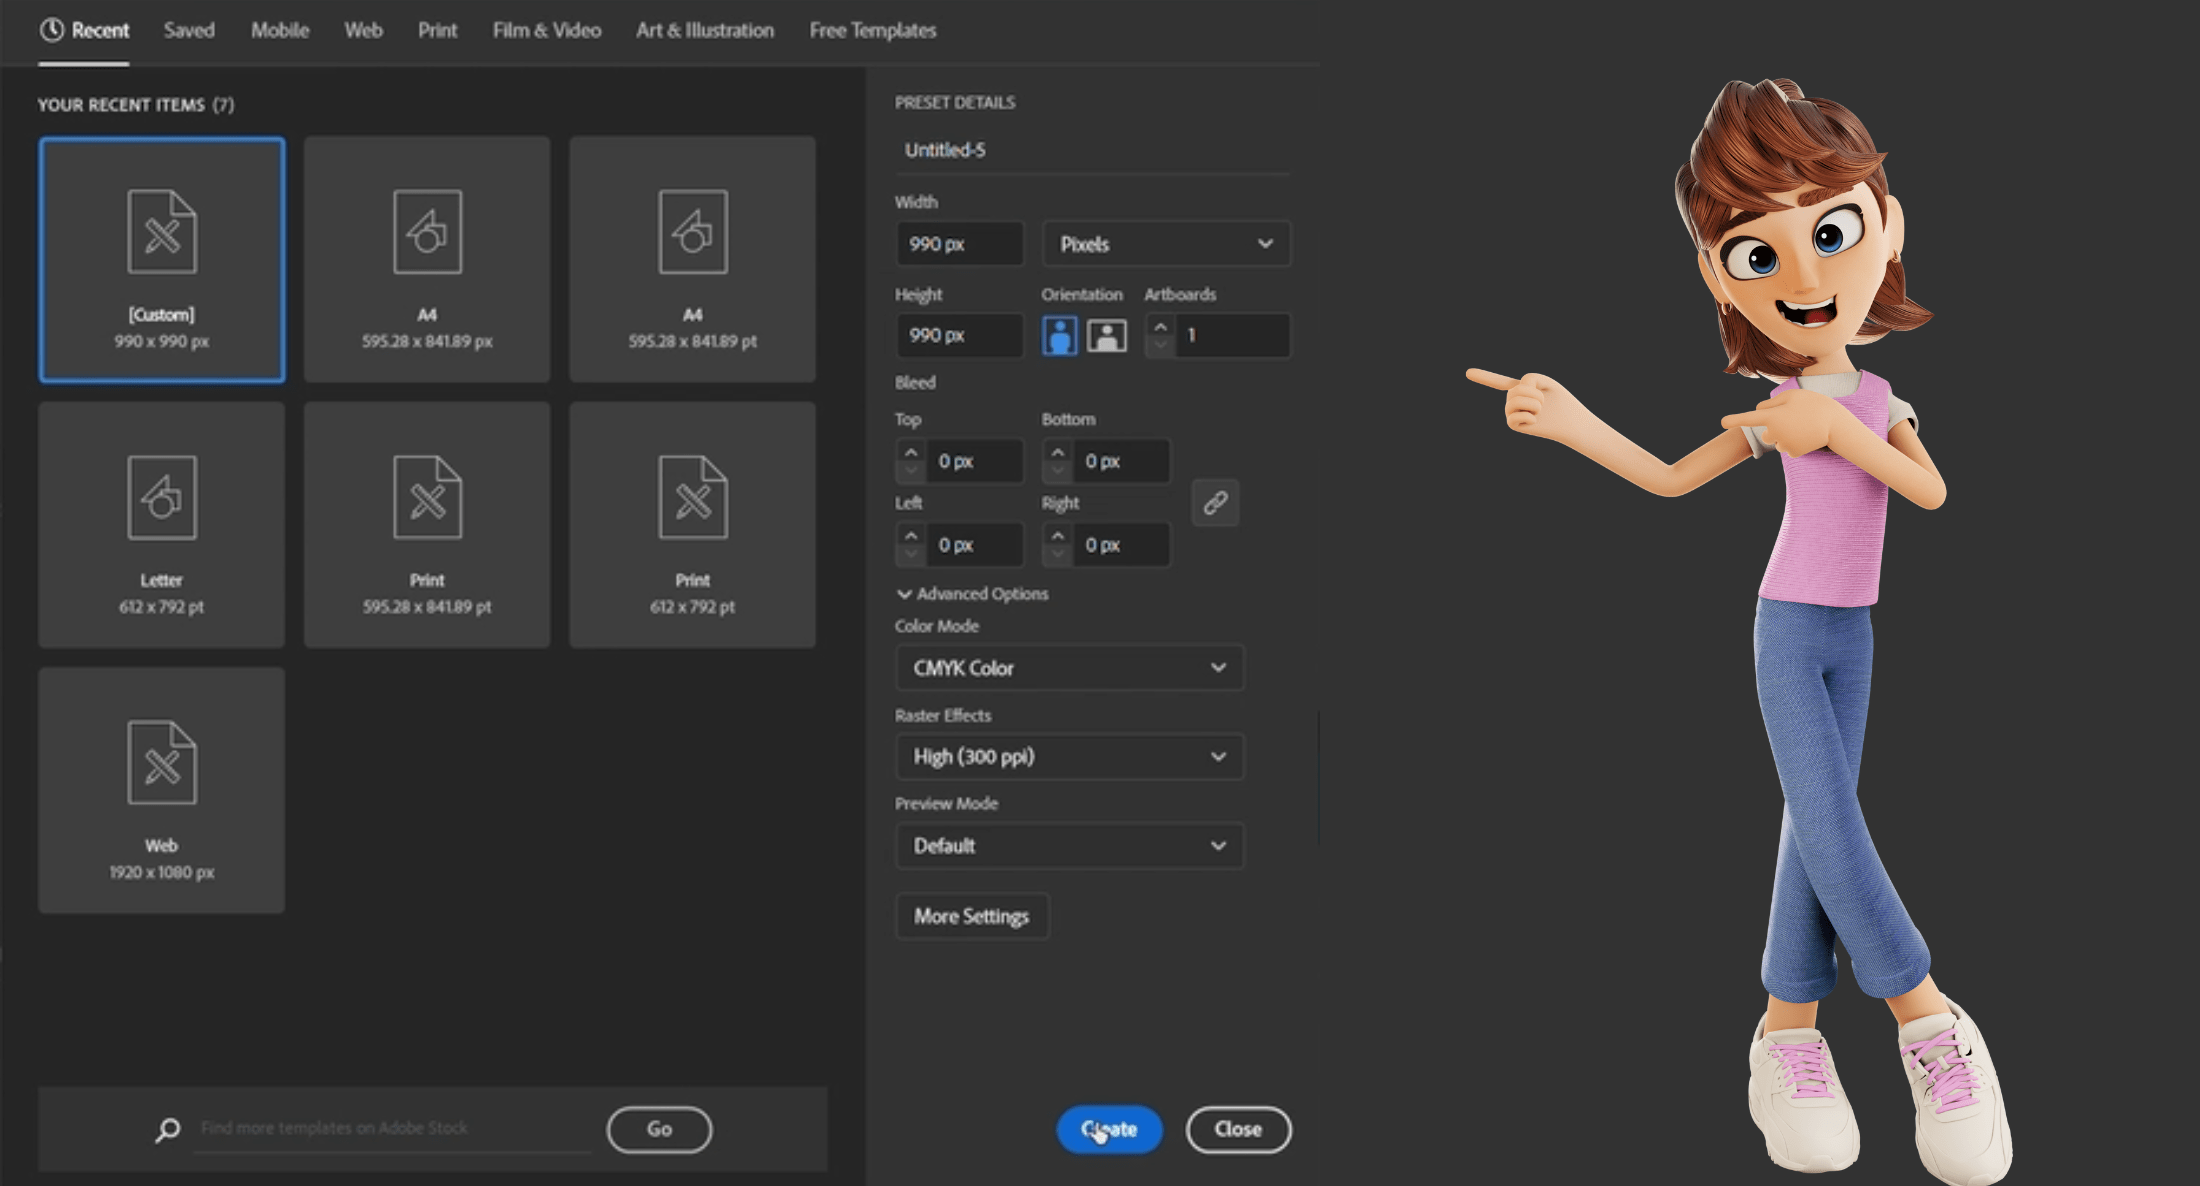
Step 1: Setting the Stage
First things first, let’s create a new document in Illustrator. Click on “File” > “New” and set the document size to 990 pixels wide and 990 pixels high. This square format provides a perfect canvas for practicing grid-based design.
Step 2: Summoning the Grid Master
Now, it’s time to invoke the grid itself! Locate the Rectangular Grid Tool in the toolbar. It’s usually tucked away near the bottom, but you can quickly access it by pressing Shift + G. Double-click this tool to unleash its hidden powers.

Step 3: Grid Customization: Tailoring to Your Needs
The Rectangular Grid Tool Options window, like a friendly genie, awaits your commands. Here’s where you define the grid’s characteristics:- Size: Set both width and height to 990 pixels to match your document size, creating a seamless grid that spans the entire artboard.
- Dividers: This controls the number of gridlines. Enter 34 for both horizontal and vertical dividers, resulting in a grid with 35 squares across and 35 squares down (including the edges). This provides ample space for precise object placement.

Step 4: Shape Up with the Shape Builder Tool
Ready to put your grid to good use? Grab the Shape Builder Tool (Shift + M). This tool, combined with the grid, becomes your design wand. Select the Fill option in the Tool options panel. With your grid as a guide, start clicking and dragging within the squares to create shapes. Each click adds or subtracts from the selected shape, allowing you to build complex designs with pixel-perfect accuracy.
Bonus Tip: While working, ensure the “Snap to Grid” option is enabled (View > Snap to Grid). This ensures your shapes align perfectly with the gridlines, further enhancing precision.
Video Demonstration:
For a visual walkthrough of these steps, check out this helpful video:Want a head start? Download this pre-configured Illustrator file with the grid settings applied:
Download